
Deep tile cleaning in bathrooms and kitchens is essential for maintaining hygiene, aesthetics, and air quality. Preparation involves decluttering, gathering specialized tools like vacuum cleaners, grout cleaning tools, gloves, masks, and effective cleaning products. The process starts with testing cleaners on small areas, removing stains with brushes or cloth, and using baking soda mixtures for tougher cases. Regular deep cleaning with vinegar-baking soda solutions prevents scum buildup. Emphasizing grout cleaning is crucial as it traps moisture and dirt, fostering bacteria growth. Consistent maintenance includes daily mopping, mild cleaner use, and weekly wipe-downs to prevent soap scum. Water-repellent sealers can be applied monthly for high-moisture areas to simplify future cleanings.
Deep tile cleaning isn’t just about aesthetics; it’s essential for hygiene and longevity of your bathroom and kitchen tiles. This comprehensive guide delves into the complete process, from gathering the right tools and preparing your space to removing stubborn stains, polishing tiles, and maintaining grout. Discover effective techniques to transform your tiled surfaces, ensuring they remain pristine between deep cleans. Learn how to keep your spaces looking fresh with expert tips tailored for bathrooms and kitchens.
Understanding the Importance of Deep Cleaning for Tiles
Deep cleaning your bathroom tiles is an essential task that often gets overlooked, but it plays a significant role in maintaining a hygienic and aesthetically pleasing space. Especially in high-moisture environments like bathrooms and kitchens, regular cleaning routines might not suffice to remove stubborn stains, mold, and mildew that can thrive on tile surfaces. Deep tile cleaning involves more than just surface scrubbing; it delves into the grout lines, eliminating the buildup of grime and bacteria that accumulate over time.
By taking the time for thorough deep cleaning, you ensure that your tiles and grout look as good as new, enhancing the overall ambiance of your bathroom or kitchen. Moreover, a deep clean can prevent the growth of harmful microorganisms, ensuring a healthier environment for you and your family. This process is crucial not just for the visual appeal but also for maintaining air quality and preventing potential health issues associated with dirty tiles.
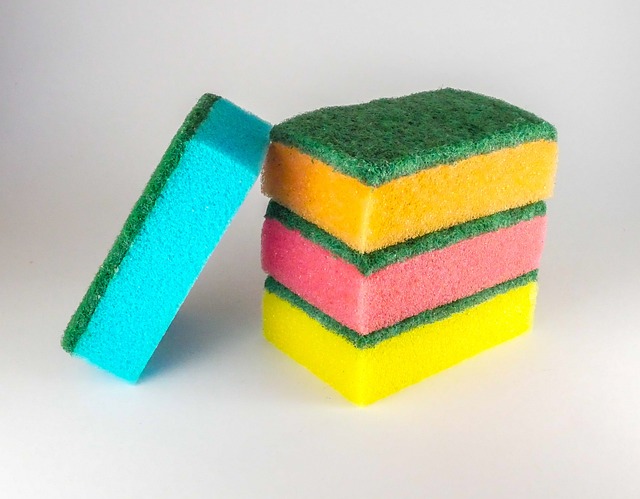
Gather Your Tools and Materials
Before diving into the deep tile cleaning process, it’s essential to gather the right tools and materials tailored for both bathrooms and kitchens. This includes a good quality tile cleaner that’s designed for removing tough stains and grime without damaging surfaces – a must-have for deep tile cleaning in humid spaces like bathrooms. For scrubbing, consider using a stiff-bristled brush or sponge, along with a microfiber mop to effectively reach every nook and cranny. Don’t forget protective gear like gloves and goggles to keep hands and eyes safe from chemicals. Additionally, prepare a solution of warm water and mild detergent for mopping hard-to-reach areas or surfaces that require a gentler touch. Having these essentials on hand ensures your deep tile cleaning for bathrooms and kitchens is thorough yet safe.
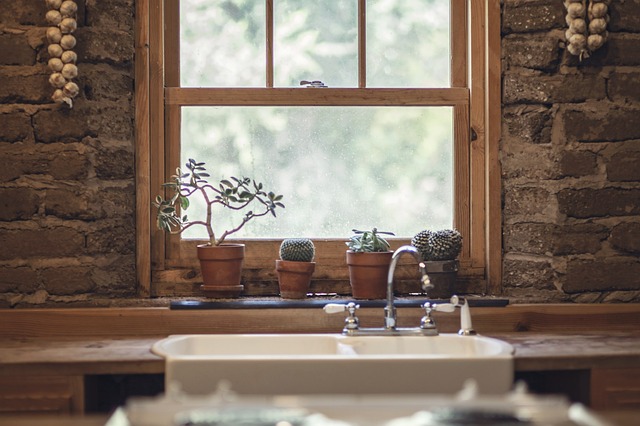
Preparing Your Bathroom or Kitchen for a Deep Clean
Before diving into the deep cleaning process, preparing your bathroom or kitchen is essential for achieving optimal results with deep tile cleaning for bathrooms and kitchens. Start by decluttering the space to ensure easy access to all surfaces. Remove any towels, mats, or decorations that might be in the way, allowing you to thoroughly clean every corner and crevice. Empty wastebaskets and replace liners to maintain a fresh and tidy environment during the cleaning process. Additionally, move furniture away from walls to expose tiles and grout for a more comprehensive deep tile cleaning session. This preparation will make it easier to navigate around the room and ensure that no area is overlooked.
Once the space is ready, gather your deep cleaning supplies, including a vacuum with a brush attachment, a heavy-duty cleaner suitable for tiles, and a grout cleaning tool. Protecting yourself with gloves and a mask is also recommended. This preparation ensures that you have everything needed to tackle stubborn stains and grime effectively. By taking these initial steps, you’ll be well on your way to revitalizing the look of your bathroom or kitchen tiles through an in-depth deep tile cleaning session.
Step-by-Step Guide to Removing Stains and Discoloration
Removing stains and discoloration from bathroom tiles is a crucial part of deep cleaning for both bathrooms and kitchens, where moisture can cause build-up over time. Start by gathering your tools: a good quality tile cleaner or detergent, a soft brush or cloth, and a bucket of warm water. Test the cleaner on a small, inconspicuous area first to ensure it won’t damage or discolor the tiles.
Apply the cleaning solution directly onto the stained areas, allowing it to soak for a few minutes according to the product instructions. Use the soft brush or cloth to gently scrub the stains in circular motions. For tougher stains, consider using a mixture of baking soda and water as an alternative cleaner. Rinse thoroughly with warm water after scrubbing, ensuring all residue is removed.
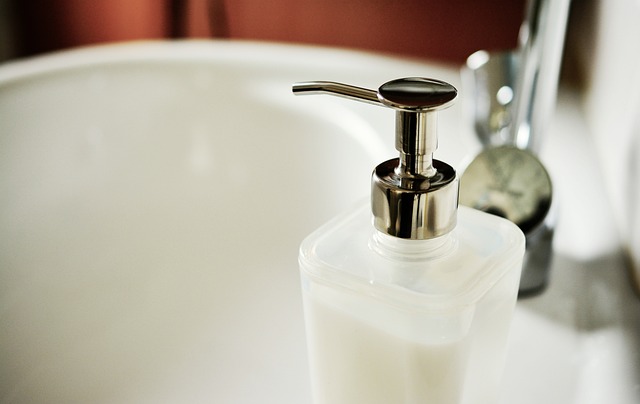
Effective Ways to Remove Tough Scum and Soap Buildup

When it comes to deep tile cleaning for bathrooms and kitchens, tackling tough scum and soap buildup can feel like a daunting task. But with the right approach, it’s manageable. Start by soaking a sponge or cloth in hot water and then applying a mix of equal parts white vinegar and baking soda. This natural cleaning solution is effective at cutting through grime. Scrub the affected areas thoroughly, focusing on corners and edges where buildup often accumulates.
For hard-to-reach spots or more stubborn residue, consider using a small brush to agitate the mixture before rinsing with warm water. Regular deep tile cleaning sessions will help prevent scum and soap buildup from becoming too entrenched, making future cleanups easier. Remember, consistency is key when it comes to maintaining a sparkling bathroom or kitchen floor!
Techniques for Polishing and Rejuvenating Your Tiles
When it comes to deep cleaning your bathroom or kitchen tiles, polishing is a crucial step to reveal their original glow. Start by vacuuming or sweeping to remove any loose debris and grime. Next, mix a solution of warm water, mild detergent, and a few drops of white vinegar in a bucket. Dip your tile brush into this mixture, ensuring it’s well-soaked, and gently scrub the tiles in circular motions. For stubborn stains, apply a toothpaste or baking soda paste, let it sit for a few minutes, then scrub away. Rinse thoroughly with warm water to remove any soapy residue, and dry the tiles with a microfiber cloth.
For an extra shine, use a glass cleaner or a mixture of water and polished mineral oil on a soft cloth, buffing the tiles until they achieve that glossy finish characteristic of newly installed tiles. Regular deep cleaning sessions using these techniques will keep your bathroom or kitchen tiles looking vibrant and fresh, extending their lifespan in between professional tile installations, which is particularly beneficial for those tackling deep tile cleaning for bathrooms and kitchens.
Cleaning Grout: A Vital Part of the Process

Cleaning grout is a crucial step in any deep tile cleaning process, especially for bathrooms and kitchens where grout lines can become a breeding ground for bacteria and mold. It’s often overlooked but can significantly impact the overall hygiene and aesthetics of your space. Grout, being a porous material, tends to trap dirt, moisture, and debris, making it a perfect haven for germs.
When deep cleaning tiles, don’t skip the grout! Use a mixture of baking soda and water as a natural cleaner, or opt for commercial grout cleaners for more stubborn stains. Apply the solution with an old toothbrush or grout brush, scrub thoroughly, and rinse well. This meticulous step ensures that your tiles not only look sparkling clean but also remain healthy and sanitary, especially in high-moisture areas like bathrooms and kitchens where deep tile cleaning is a must.
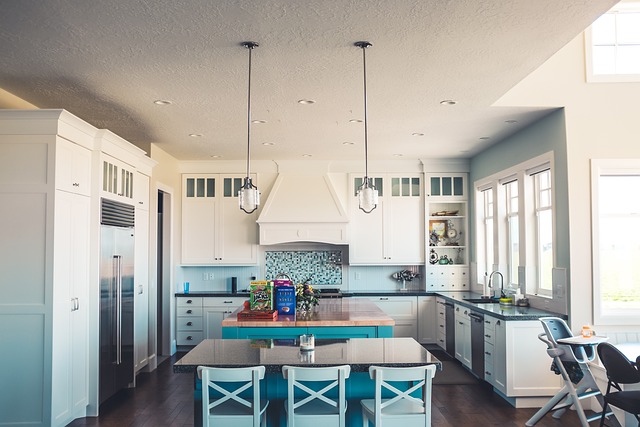
Maintaining Cleanliness Between Deep Cleans

Keeping your bathroom and kitchen tiles looking their best between deep cleans is essential, especially considering these high-traffic areas are prone to dirt and grime buildup. A simple yet effective strategy is to maintain a consistent cleaning routine using mild, non-toxic cleaners. Regular mopping with warm water and a gentle floor cleaner will help remove loose debris and prevent the need for more intensive deep tile cleaning for bathrooms and kitchens.
Additionally, paying close attention to areas around fixtures and edges, where dirt tends to accumulate faster, can go a long way in keeping your tiles looking fresh. Using a soft-bristled brush or cloth with your regular cleaner can help remove stubborn marks and maintain the overall cleanliness of these hard-to-reach spots. Remember, maintaining a clean environment slows down the process of grime buildup, making deep tile cleaning sessions less frequent and easier to manage.
Tips for Keeping Tiles Looking Fresh Over Time

To keep your bathroom and kitchen tiles looking fresh between deep cleanings, start by adopting a proactive approach to maintenance. Regularly wipe down surfaces with a mild cleaner or vinegar solution to prevent soap scum and mineral buildup. This simple step goes a long way in preserving the grout’s color and preventing stains from setting in. Additionally, use soft-bristled brushes or sponges when cleaning to avoid damaging the tile finish.
For added protection, apply a water-repellent sealer once a month, especially in high-moisture areas like shower stalls. This will help repel water and dirt, making future cleanings easier and keeping your tiles looking crisp. Remember, consistent, mild cleaning methods are key to maintaining the integrity of your tiles, ensuring they remain vibrant and free from unsightly marks for longer periods, even without intensive deep tile cleaning for bathrooms and kitchens.